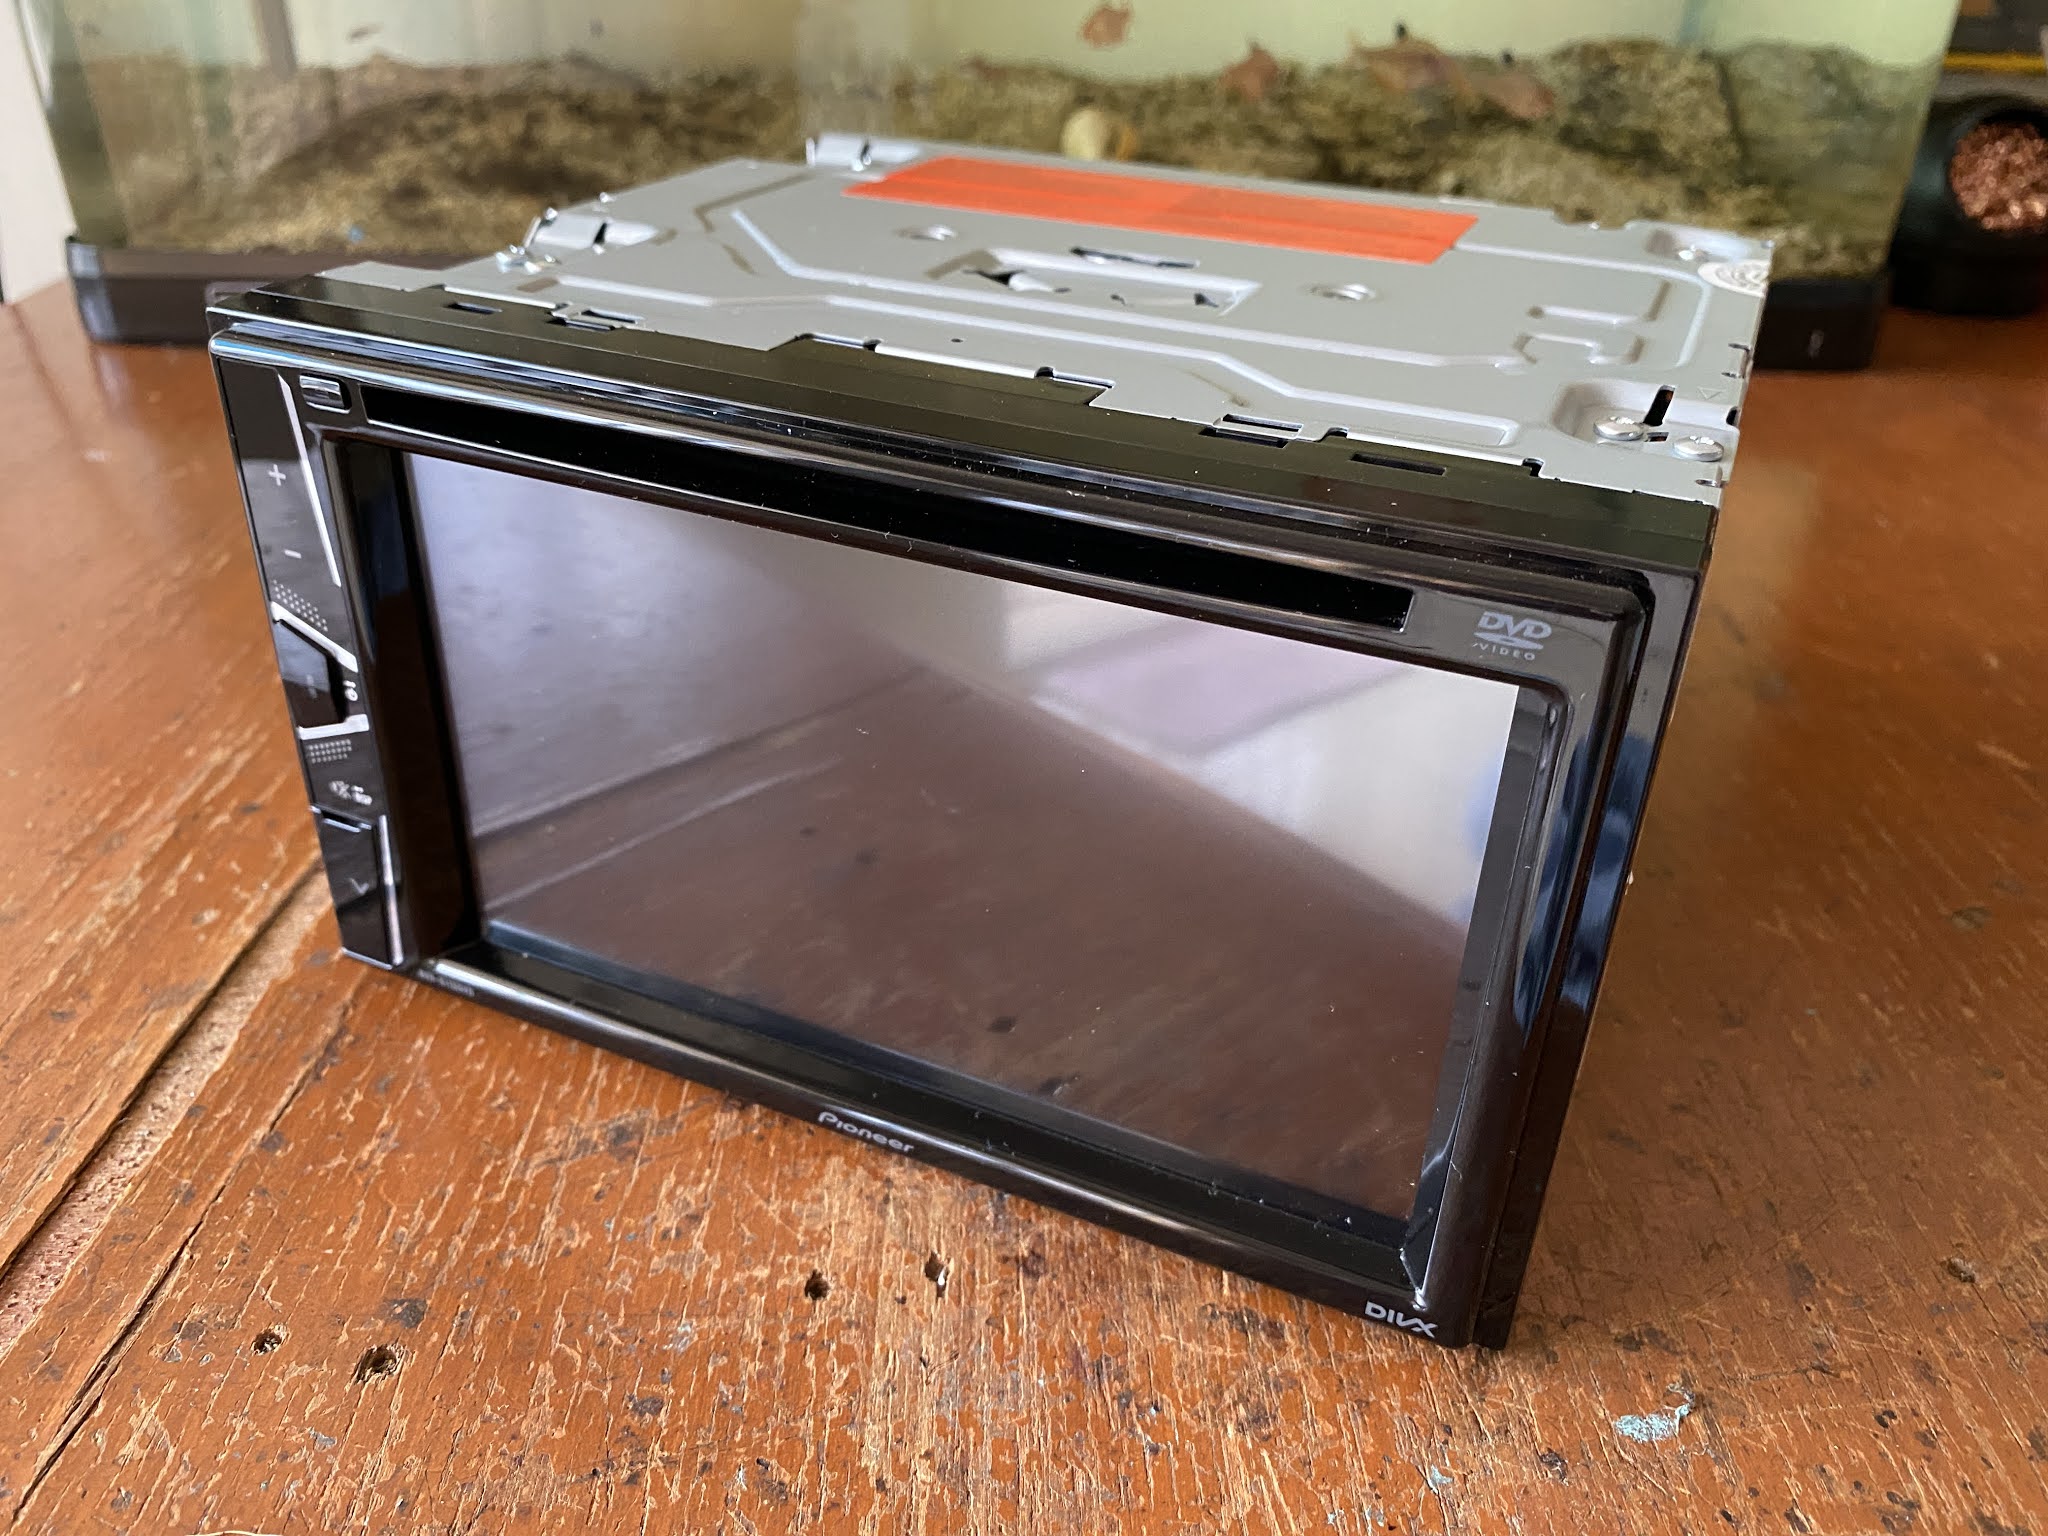
I bought this Pioneer AVH-G115DVD here almost a year ago and this is the lowest grade of Pioneer car multimedia line up.
When I put inside my car, it look nice and modern compares to my previous head unit the Sony CDX-CA900 here. Although the Sony sound much better than this Pioneer, but I can accept using this Pioneer AVH-G115DVD because this multimedia head unit is the simplest way to listening the music on car. I can now playing downloaded DIVX movie copied to a USB thumb drive. There is no more stacking CD or separate portable audio device in my car to play music.
So in this post, I will open it and see what component inside.
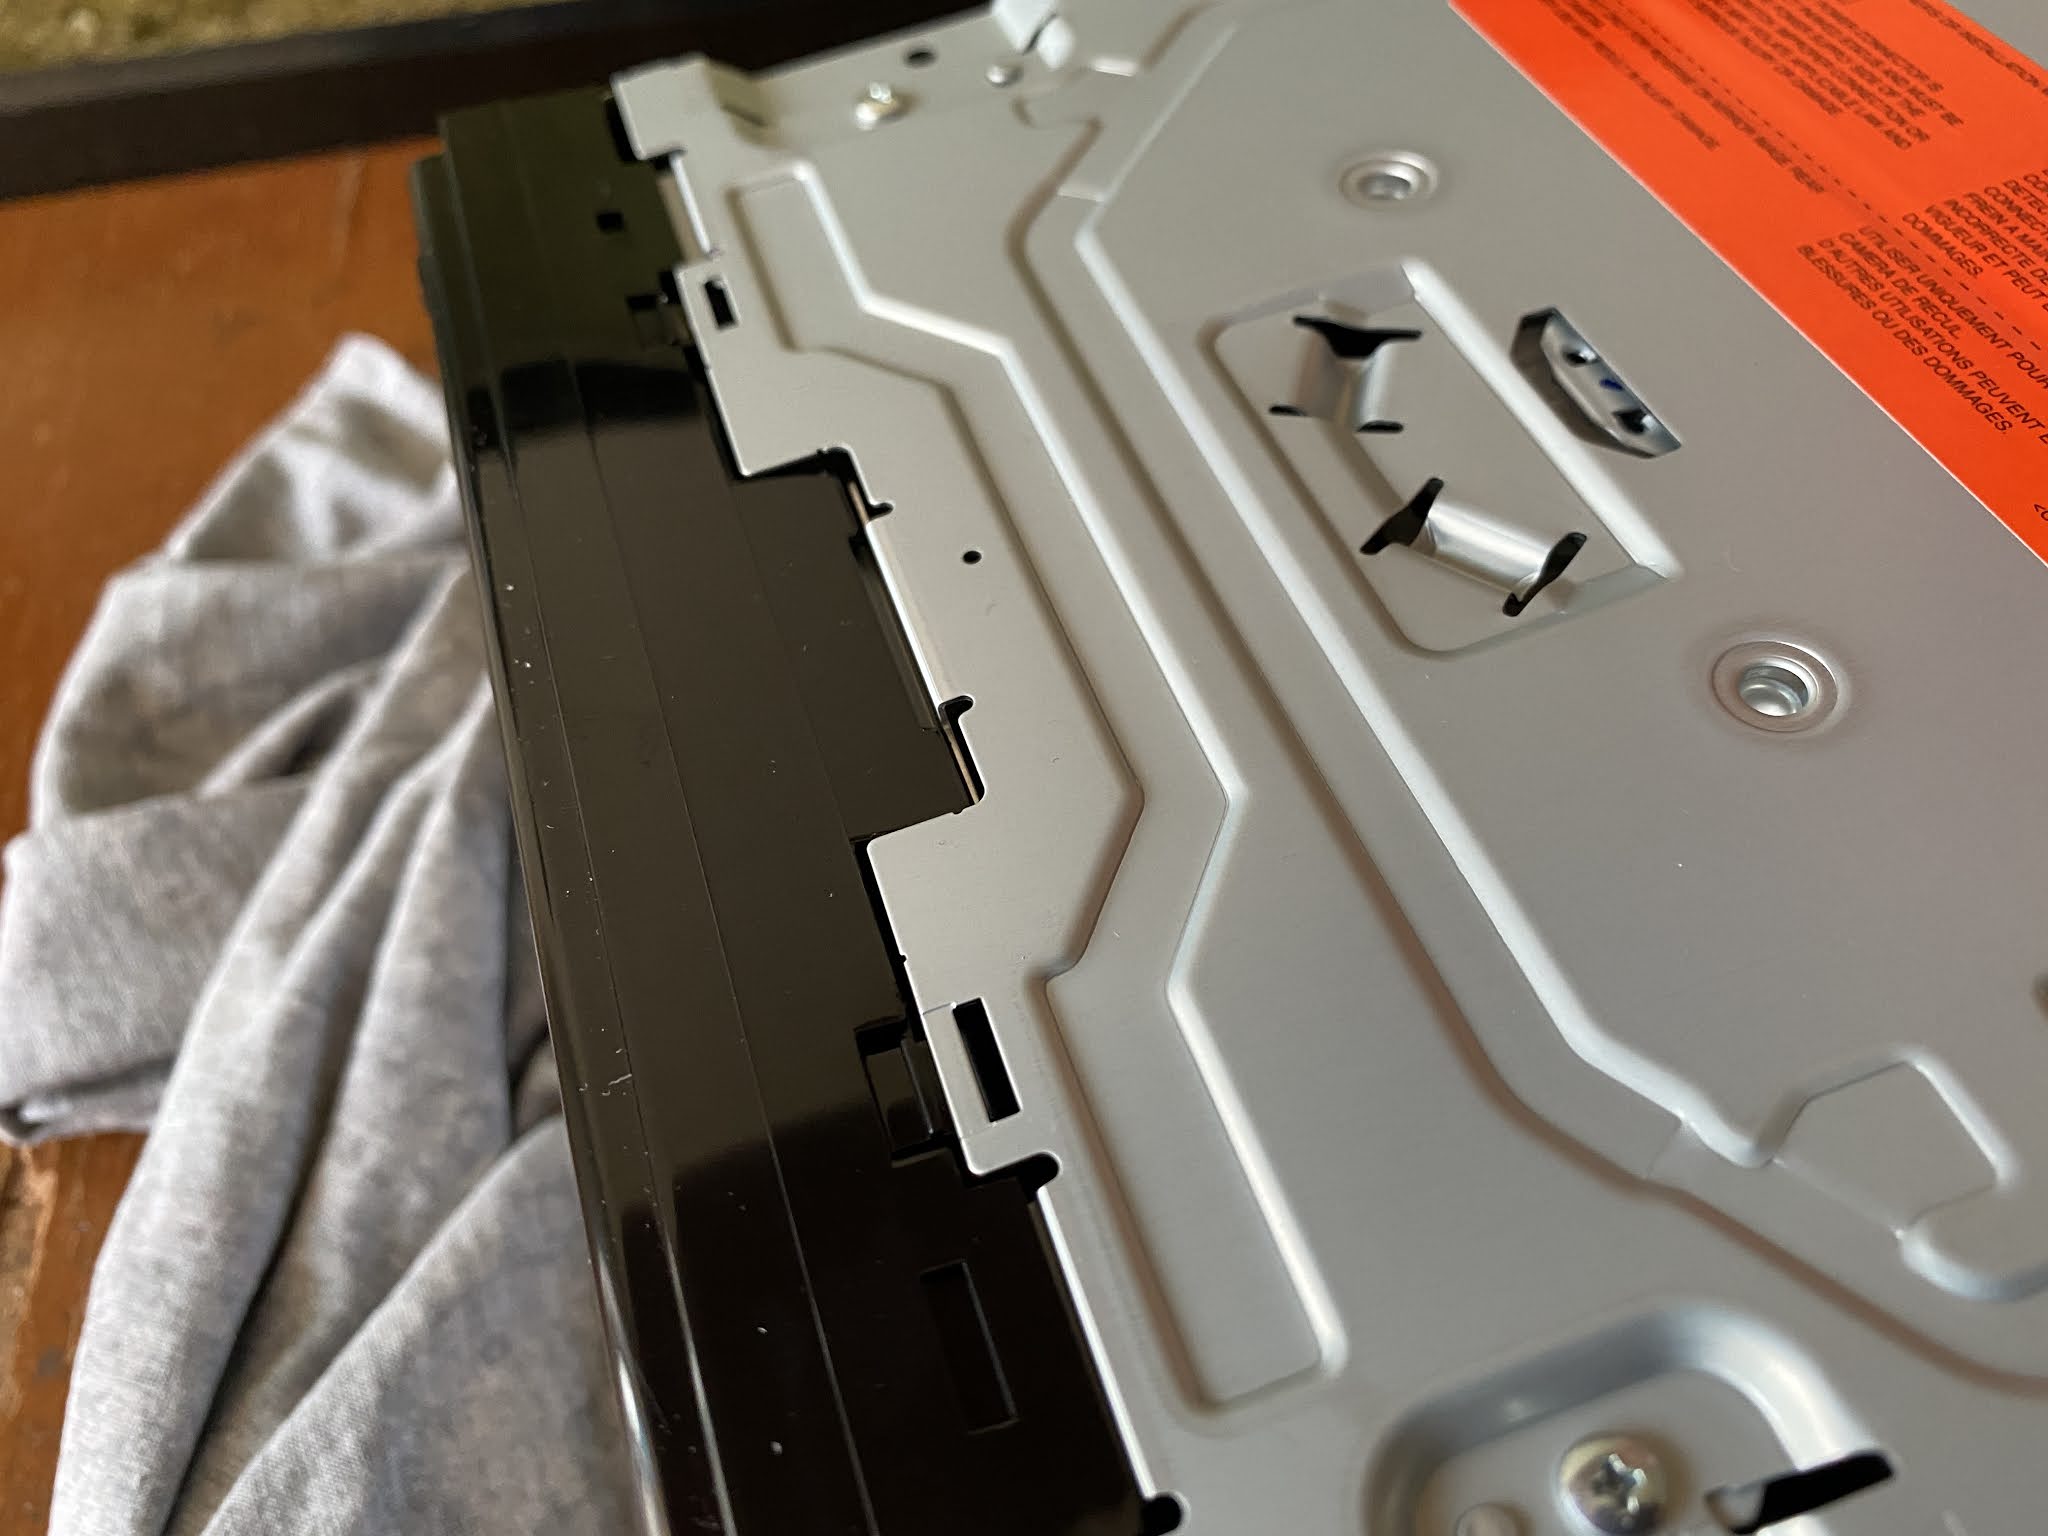
First things first, I remove the four screw on top of the chassis.
I gently pull the top cover up starting from the back of the unit, then slide the front tab to the back. This method will open this unit easily.
After the top cover open, then the DVD drive can be easily remove. I put the unit in this way so it is easy for me to access the internal.
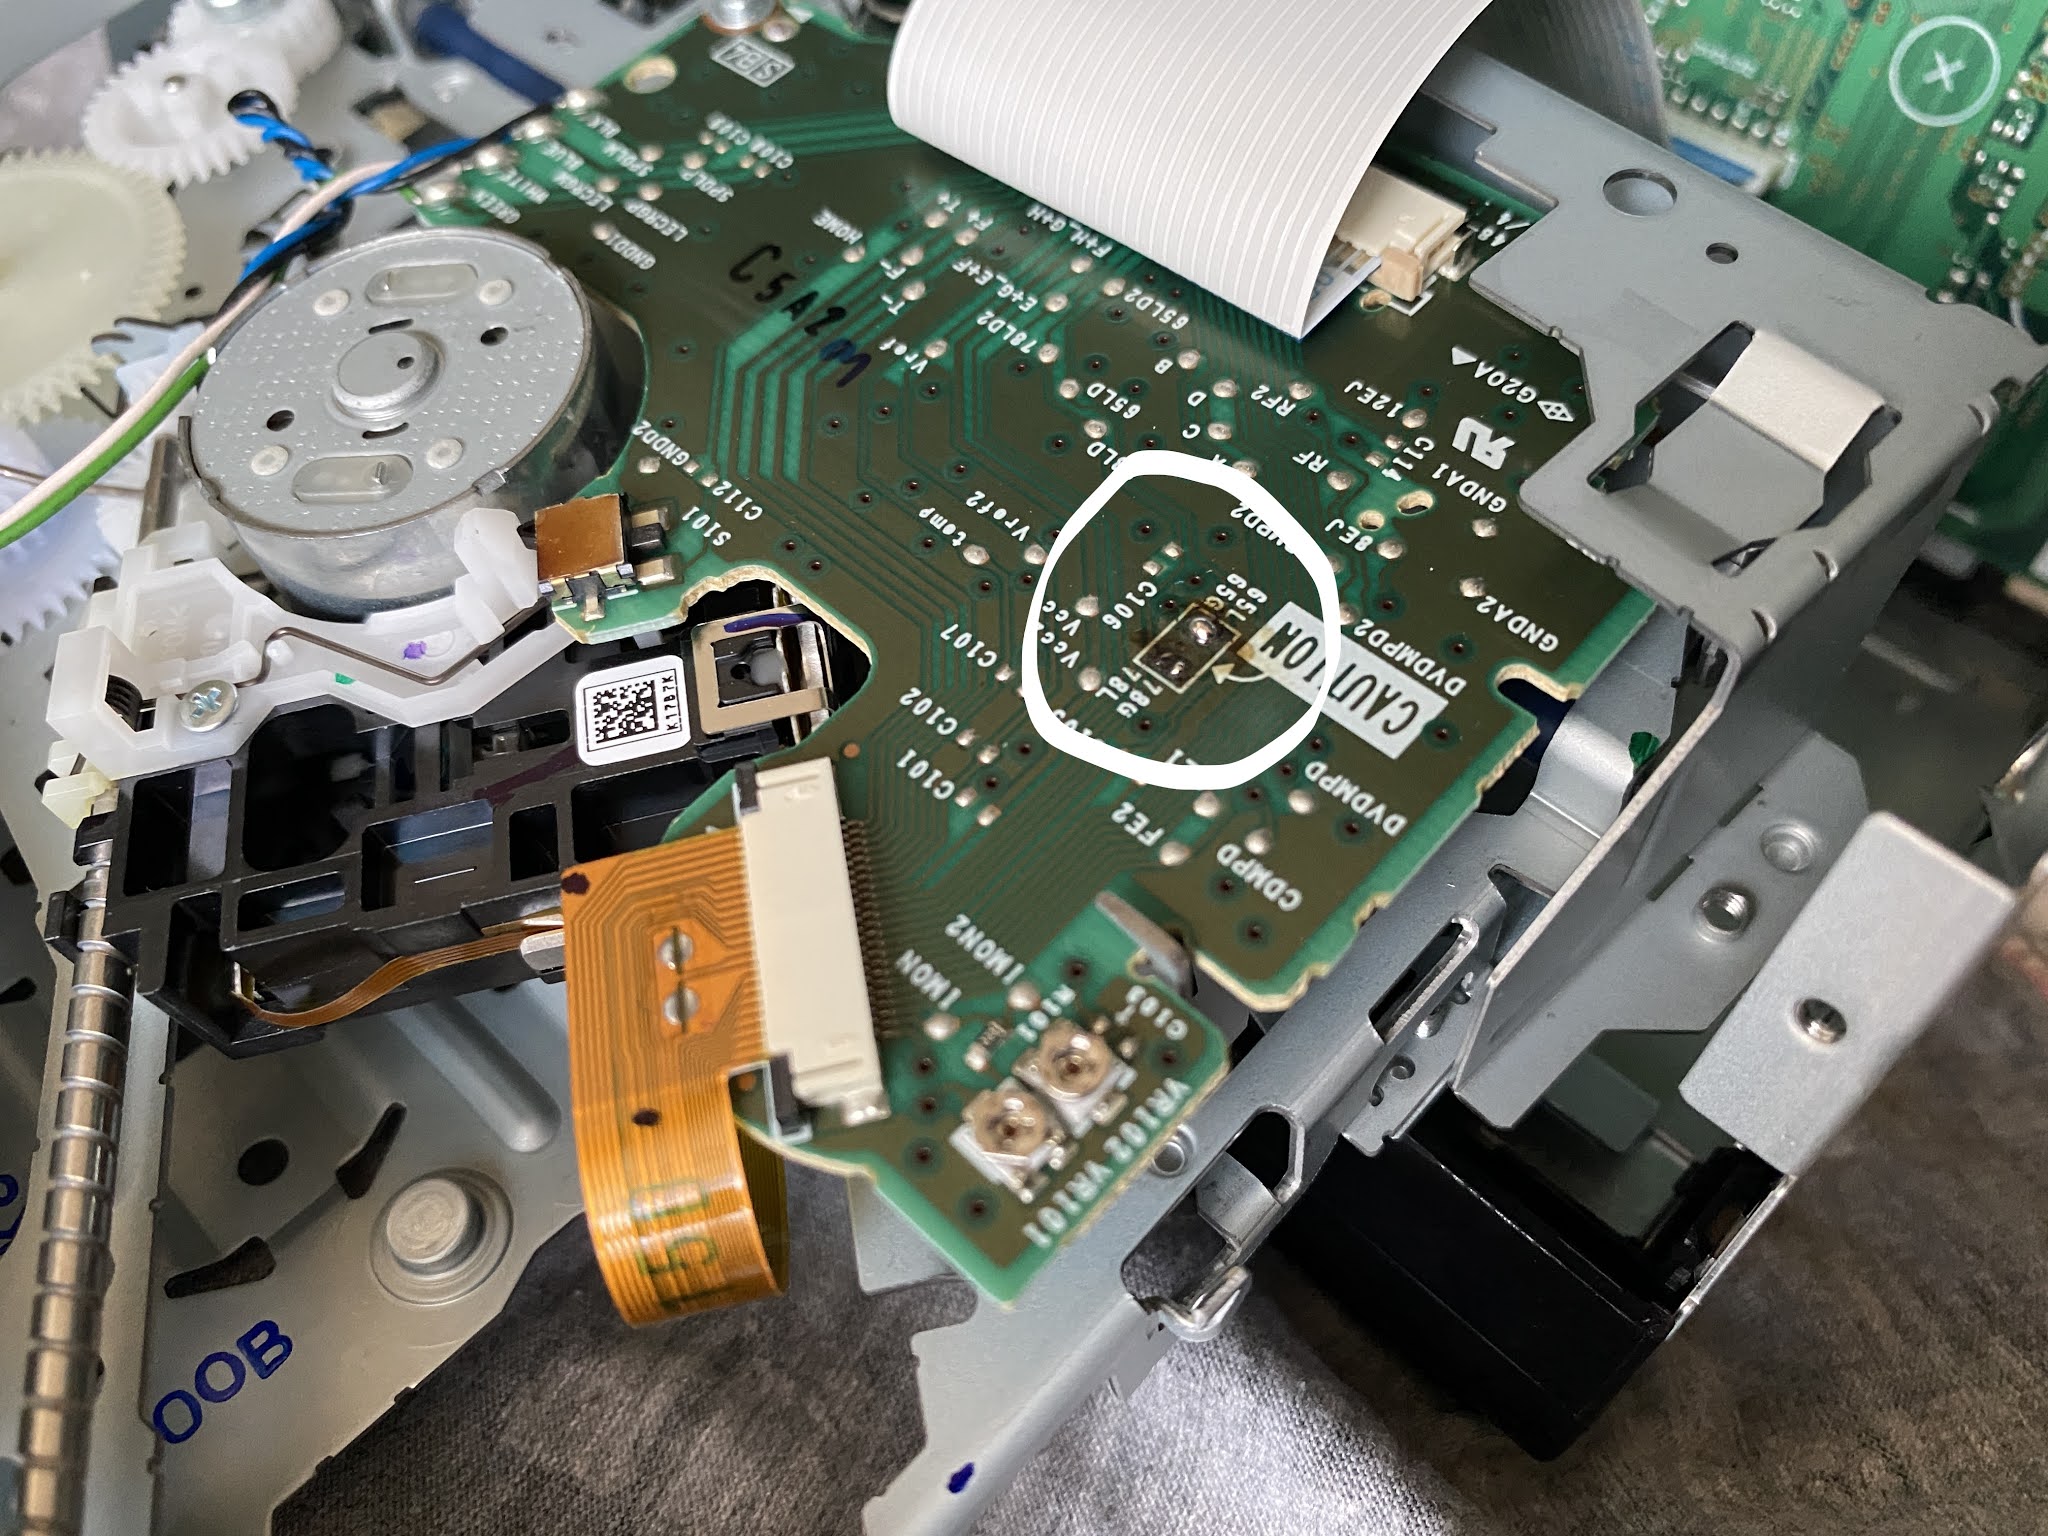
I took a closer look to the PCB on the DVD drive, there is a
caution mark on it which before removing the ribbon cable, the pin should be connected each other to avoid the electrostatic. But the PCB trace is so fragile and I broke it when I put the solder tin on it.
So I just remove this drive and stored safely without connecting the joint pin.
To get the full access to the main board, the next steps are open the front panel, the heatsink and the side panel.
Pioneer never using thermal paste on their latest device anymore. Adding the thermal paste on it will improve the thermal efficiency for the power amplifier IC.
Moving to the internal, I am start to release the ribbon cable. It simply pull the black tab to the upper position to unlock the socket. By this method, the ribbon cable can be pull out easily.
By loosening few screw attached from the main board to the chassis, then the main board can be completely remove.
I inspecting the components use inside this unit.
On the left there is a tiny IC for the radio reception. Then the micro-processor and MPEG IC is in the middle of the main board. On the center right is the LCD inverter IC.
The bottom PCB is more simple.
There are another micro-processor and IC for handle the DVD driver motor. I also found few op-amps for the low pass filter audio.
Pioneer using many SMD capacitors in the audio section. When using this SMD capacitor at the audio signal line, the music will sound thin and edgy. Changing them with the audio grade components will improve the sound quality.
I inspect carefully each IC and I found something special in this unit.
Pioneer surprisingly using separate DAC IC on this budget unit. This is quite rare for low grade product using separate DAC IC like this. The DAC is WM8761 design for multi media player such as DVD to handle multi channel audio output.
Finding the separate DAC IC in this unit is quite surprising me. No wonder this Pioneer's sound quality actually quite good after some time I listen to it.
On the next post, I will do several components upgrade that I think it will make the sound better.
Please stay tuned for the next post.
Disclaimer: Any statement and photos in this article are not allowed to copy or publish without written permission from the writer. Any injury or loss from following tips in this article is not under writer responsibility.


Comments
Post a Comment