In the year 2021, I built AD1862 DAC here
I only published it once and then I never post anything about it again. I guess this is quite unfair for such this good DAC IC not having a good publicity in my blog.
The story when I bought this DAC IC is quite miracle. At that time, I take so much time by searching the next DAC candidate for my DAC built and end up with this AD1862. Suddenly one of my friend offering me to dismantle his hi-end CD Player and the brand is Esoteric. Inside it, there are 4 pieces of AD1862 J grade.
So in this post, I will rebuilt my previous AD1862 DAC to become more compact with smaller chassis.
Let's start the process.
The AD1862 is 20 bit DAC from Analog Device that came to compete with Burr Brown PCM63 DAC.
This is a great DAC, but somehow the sound performance still cannot beat the more musical PCM63. It is clear from the datasheet that the PCM63 is actually have dual DAC in one die to achieve better linearity, while the AD1862 still using single DAC and push the technology on it.
My previous built for this AD1862 DAC is to have immediate experience for this DAC performance. So right now, I take the opportunity to tidy up the point-to-point connection and improve the power supply components with better power transformer.
The photo bellow is the AD1862 DAC board from my previous built. It is clearly see that many jumper cables on the top and bottom of the board. It is not tidy at all.
I work on it and it is end up like this.
There is no jumper anymore on the top of the board. It is all clean now.
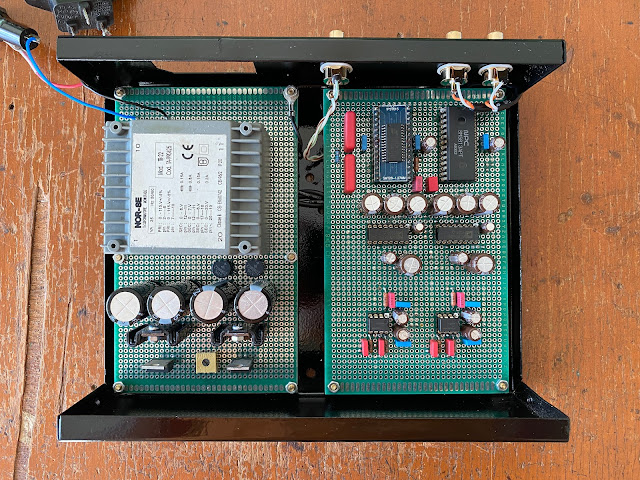
Then, I will put it on the small compact size chassis.
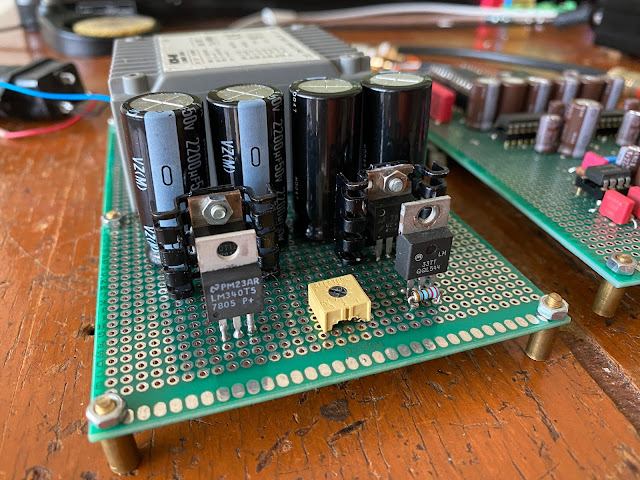
Because the new casing is much smaller, about 12 times smaller than the previous built, so I need to make a new board for the power supply.
I start with the transformer first.
The transformer here is high quality encapsulate R-core transformer taken from the others old unused CD player. Although this is a thin profile transformer, but the quality is so much better than the previous Bando transformer that I used.
The remaining steps is build the power supply board and measuring the overall size to fit inside the casing.
I love how compact the size for this casing and I use it often in my DAC build.
As usual, I clean up the casing and paint it with orange color on top, so it look fresh and fruitful.
This DAC is now completely done and the sound quality is still great.
Disclaimer: Any statement and photos in this article are not allowed to copy or publish without written permission from the writer. Any injury or loss from following tips in this article is not under writer responsibility.


Could you bulid a dac for me?
ReplyDeleteVery good job!
ReplyDelete