My posting in this month is full of this Clarion HX-D1.
I made this quite in rush because it requested from my friend, who bought this unit for his temporary CD player replacement.
Almost 2 weeks has pass since the last modification which is previously, I take the line-out directly from the analog stages, the I/V and the LPF section. The new owner of this Clarion HX-D1 enjoy it very much and he requesting another modification.
After consulting with me again about what will be suitable for this final modification, then we are agree to by-passing the internal tone control and channel buffer in this unit while still using the internal volume control.

If you follow my previous post about this Clarion HX-D1, you would be very familiar with the photo above. It is the tone control and the pre-amplifier section separate from the main board. The audio signal from DAC goes to I/V and LPF in the main board then goes to the volume control and balance control in this pre-amplifier section.
What will I doing right now is return back all previous modification on the DAC output, especially removing the 2 resistor previously installed across the output on the main board.

Then I need to jumper the relay unit using copper wire like the photo bellow. So now the audio signal from DAC will goes directly to the pre-amplifier board.

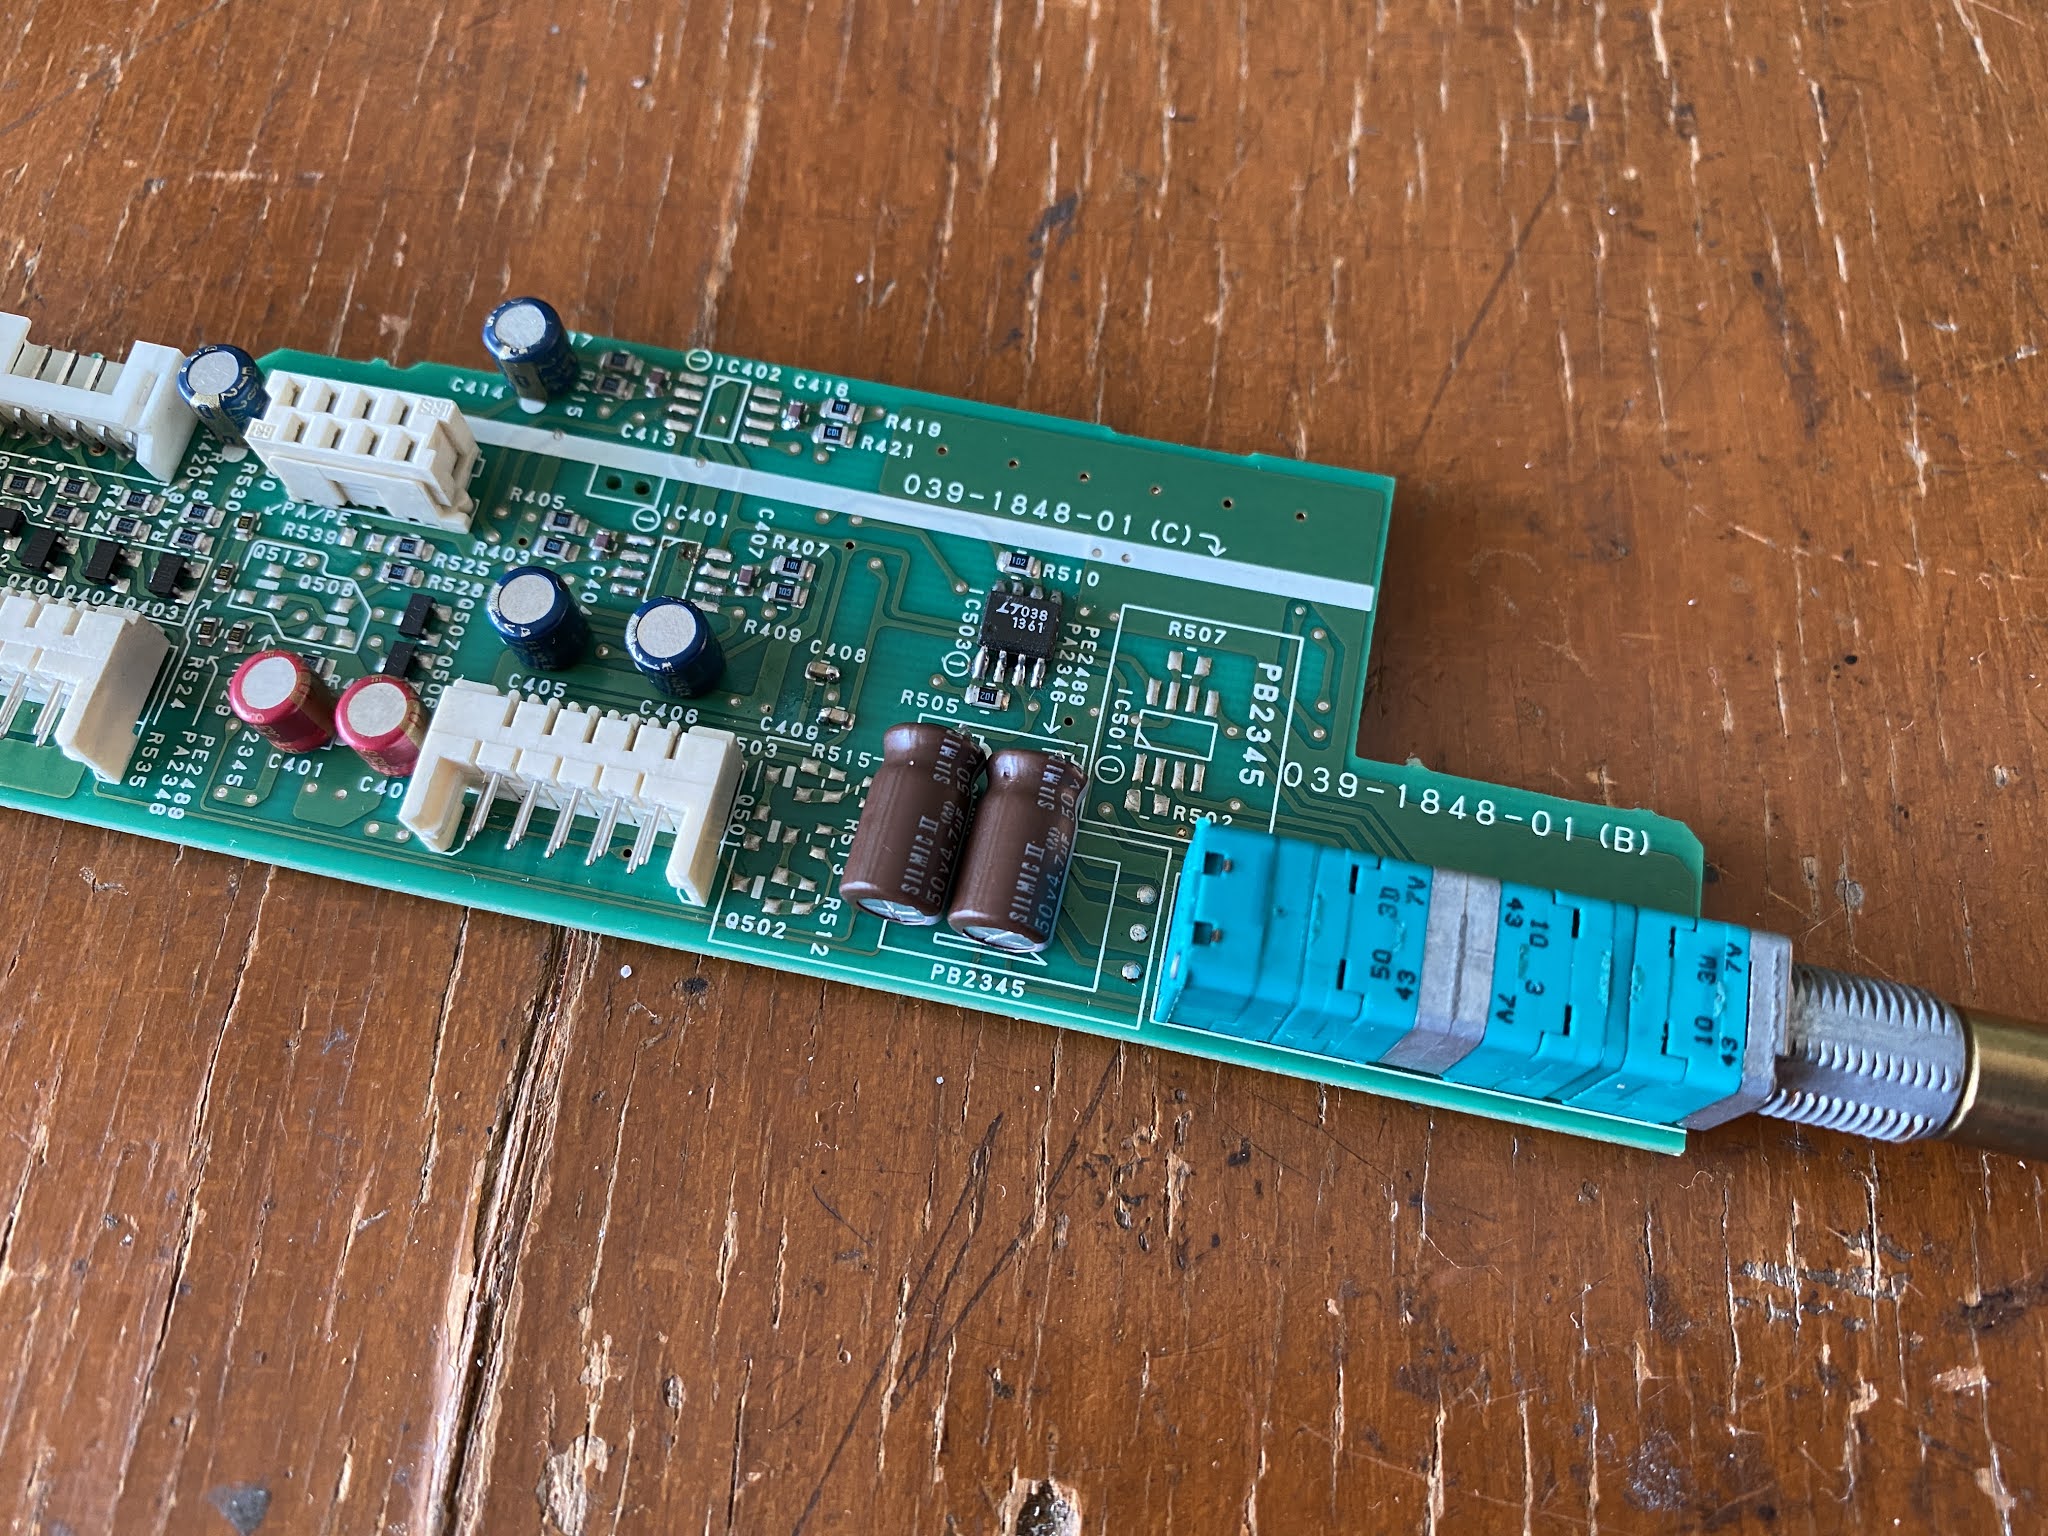
And this is the pre-amplifier board. I divided it into 2 section. A and B.

The section 'A' is the pre-amplifier section using a economic op-amp 4558. The 2 capacitor bellow the op-amp is the input capacitor after the volume & balance control. I will now using this pre-amplifier section.
On my hand, I have spare LT1361 op-amp and I think this will make a sound performance upgrade over the 4558 on the pre-amplifier section.
The section 'B' is the buffer stages. The function is to split the output from 2 channel stereo to 4 channel stereo. Since I only use this unit as stereo at home only, then I don't need those buffer stages. I will by-passing them and take the signal output after the pre-amp section "A" instead.


I think you will get bored when I always using the Elna Silmic for the capacitors upgrade. They are actually a great and affordable capacitor for small unit like this.
The next photo is the tone control board which I also don't need it anyway.
Bypassing this tone control circuit is quite easy. I took the schematic and found by re-arrange the four capacitor near the socket can be bypassing the entire tone-control circuit.


So I removed the OEM capacitors, then replaced them with Elna Silmic. The new arrangement is shown on the photo bellow.

The bypass solder point is shown like in the photo bellow. It using only using two piece of 22uF Elna Silmic capacitor.

The next step is put the reference resistors after the capacitors for lower the output impedance. I am using 47k ohm and all goes to the ground. This resistor is also the point where the signal line out will be connecting.

This modification is as simple as that, now I can assembly all parts together along with the line out cable.


Now this Clarion HX-D1 line output is controlled by the volume control just like the OEM except the tone control is now by-passed.
The sound from this unit just like I want to hear from PCM1704 R2R DAC. It sound very natural yet detail with the precise music tempo and wide sound-stage.
But honestly if you ask me the difference before all of this upgrade compare with this current condition, I can say that I cannot remember exactly which are better. Technically the modification like this will makes sound better and smoother in all frequency response.
That's it, I return this unit to the owner and let him decide which sound quality is better after all.
Disclaimer: Any statement and photos in this article are not allowed to copy or publish without written permission from the writer. Any injury or loss from following tips in this article is not under writer responsibility.
Comments
Post a Comment