If someone asking me about what is my dream for the vintage multibit DAC to own is for sure the Nakamichi Dragon DAC.
Anyone who doesn't know the original Nakamichi brand is a company that specialized in the high fidelity audio product and they are all made in Japan. Unlike today Nakamichi which already bought by the Asian company and they missing it's original culture.
The Nakamichi Dragon is the highest level of audio product and the DAC in this Dragon line-up is the limited edition product with ultimate price tag to own.
Don't expect me to buy it, I guess I better make it by my own:)
In this Nakamichi Dragon DAC clone build, I will revering to their original schematic on their service manual I got.
Actually this DAC is not too complicated. I starting with the use of the uncommon digital filter IC that received the SPDIF signal.
Then the DF1704 is the 8x oversampling IC, very common to connect with the PCM1704 DAC.
And the DAC is using 2 pieces PCM1704 per channel with one IC is set as the inverted output. This configuration is describe in the PCM1704 manufacture datasheet, especially for the evaluation board and the Japanese version datasheet describe this multiple PCM1704 configuration in balanced-parallels like this will improve the DAC total harmonic distrortion and dynamic range number.
The analog stages is start with the current-to-voltage (IV) converter using 4 pieces of NE5534 op-amps. The output at this stages are differential/balanced outputs.
The last is the differential to single ended converter using discrete transistor with the same function as op-amp.
Strange for the power supply section in this DAC that intended built for home audio, but the circuitry of the power supply is basically using inverter that same as SMPS power supply. I can't say it is bad, but using linear power supply will probably better.
The clone that I will build here have some key difference compare to the original.
First, I will using CS8412 as the digital filter IC.
Then I will using the shift register circuitry instead of using DF1704 so this DAC will be in the non-oversampling configuration.
The rest of the chains are all the same except for the IV converter op-amps will be using 4 pieces OPA627 instead of NE5534 and the differential to single ended converter will be replace by using dual op-amp instead of discrete transistor circuitry
The discrete transistor circuitry in the Nakamichi Dragon schematic is basically the same principal as using op-amp. I make some noted on the original schematic bellow so you can understand the concept better.
Remembering when this Nakamichi Dragon was built, the best op-amp available probably only at the level of NE5524. So the decision to using discrete circuitry like this probably better.
But right now, the op-amps circuitry has improves miles away with many option to swap at anytime, so I prefer using op-amps replacing the more complicated discrete as per original schematic above.
So I start building this Nakamichi Dragon DAC clone with the power supply section first. As usual the LM340T 7805 and 7812 fixed regulator are using in this build.
This power supply board is simple and there are spaces left in this board. So it will be sharing with the analog section.
I continue to the DAC board which consist of 4 pieces of PCM1704 and 5 pieces 74HCT164 shift register.
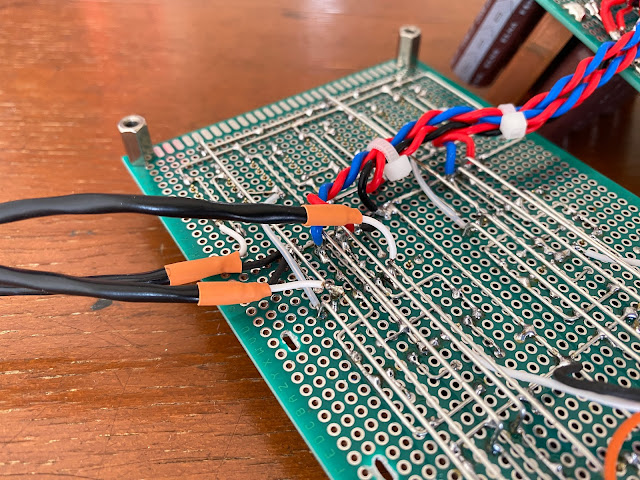
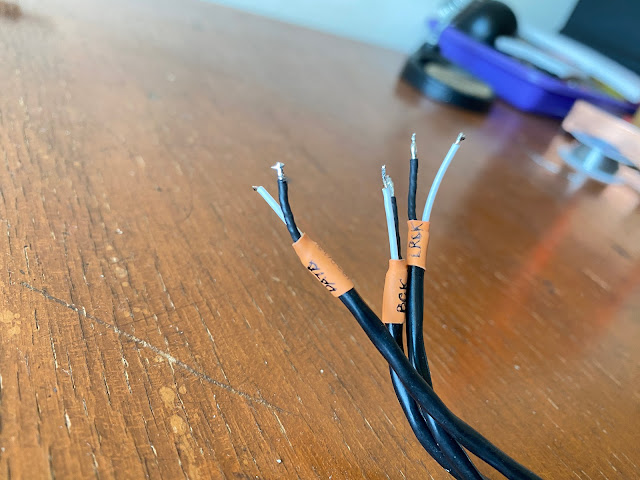
At this stages, the connection between those board are made using a shielded cable for audio signal.
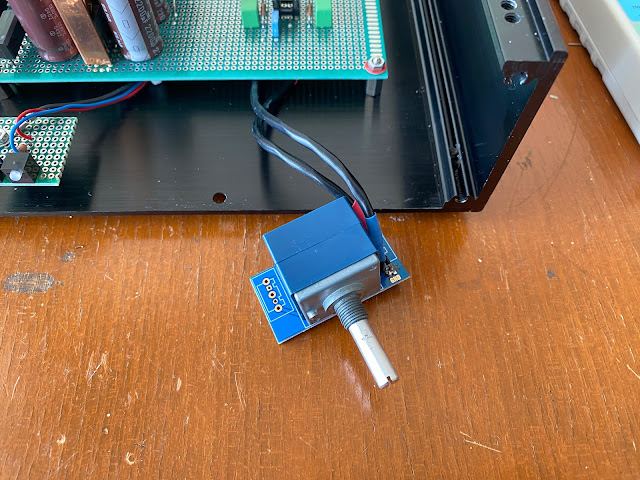
In this build, I will adding the volume control at the analog output. So the option is possible if I want to connecting this DAC to the power amplifier directly.
I also covering the PCM1704 DAC section with a copper shield for better looking and also help to reject the electrical noise as well.
Freshly made from my working desk, this Nakamichi Dragon DAC clone is now finished.
The sound characteristic from this non-oversampling, balanced-parallels PCM1704 DAC is so much different. Very low noise, dark-background, and linear but at the same time smooth and detail with human-like sound.
Personally, I like the sound characteristic from it. I am pretty sure for the DAC in this parallels-balanced configuration will contribute to the better audio performance compare to a single DAC implementation that I've made before.
Disclaimer: Any statement and photos in this article are not allowed to copy or publish without written permission from the writer. Any injury or loss from following tips in this article is not under writer responsibility.


Hi,
ReplyDeleteI admire your work with building and trying out so many DACs. And even so that you make a detailed blog about it! This is really a gem for us who like to read and see this kind of stuff.
I have a question regarding DAC builds like this one or the previous. Are you not interested to try how they sound in the original form? Do you not think about building the original schematic and then building your customized one so you can hear the difference?
Personally I would be very interested in these kind of comparisons.
Have a happy new year!
Hi David, thank you.
ReplyDeleteThe reason I cannot following the exact schematic from the original dac unit (for example like the dac in this post) is because I don't have the specific parts on hand. Most of them are discountinued parts or unpopular in the market.
For sure I also eagerly to know the difference between them, but at this moment, I am happy with the result.
Wow, very great and your whole site is super. Will look foward for more. Thanks
ReplyDelete